How to add Presets to Lightroom Mobile
This tutorial will teach you to install Lightroom Mobile presets into the app, without using the desktop version at all. You will be able to save them as presets and apply them with one click without any other effort!
How to install Lightroom Presets
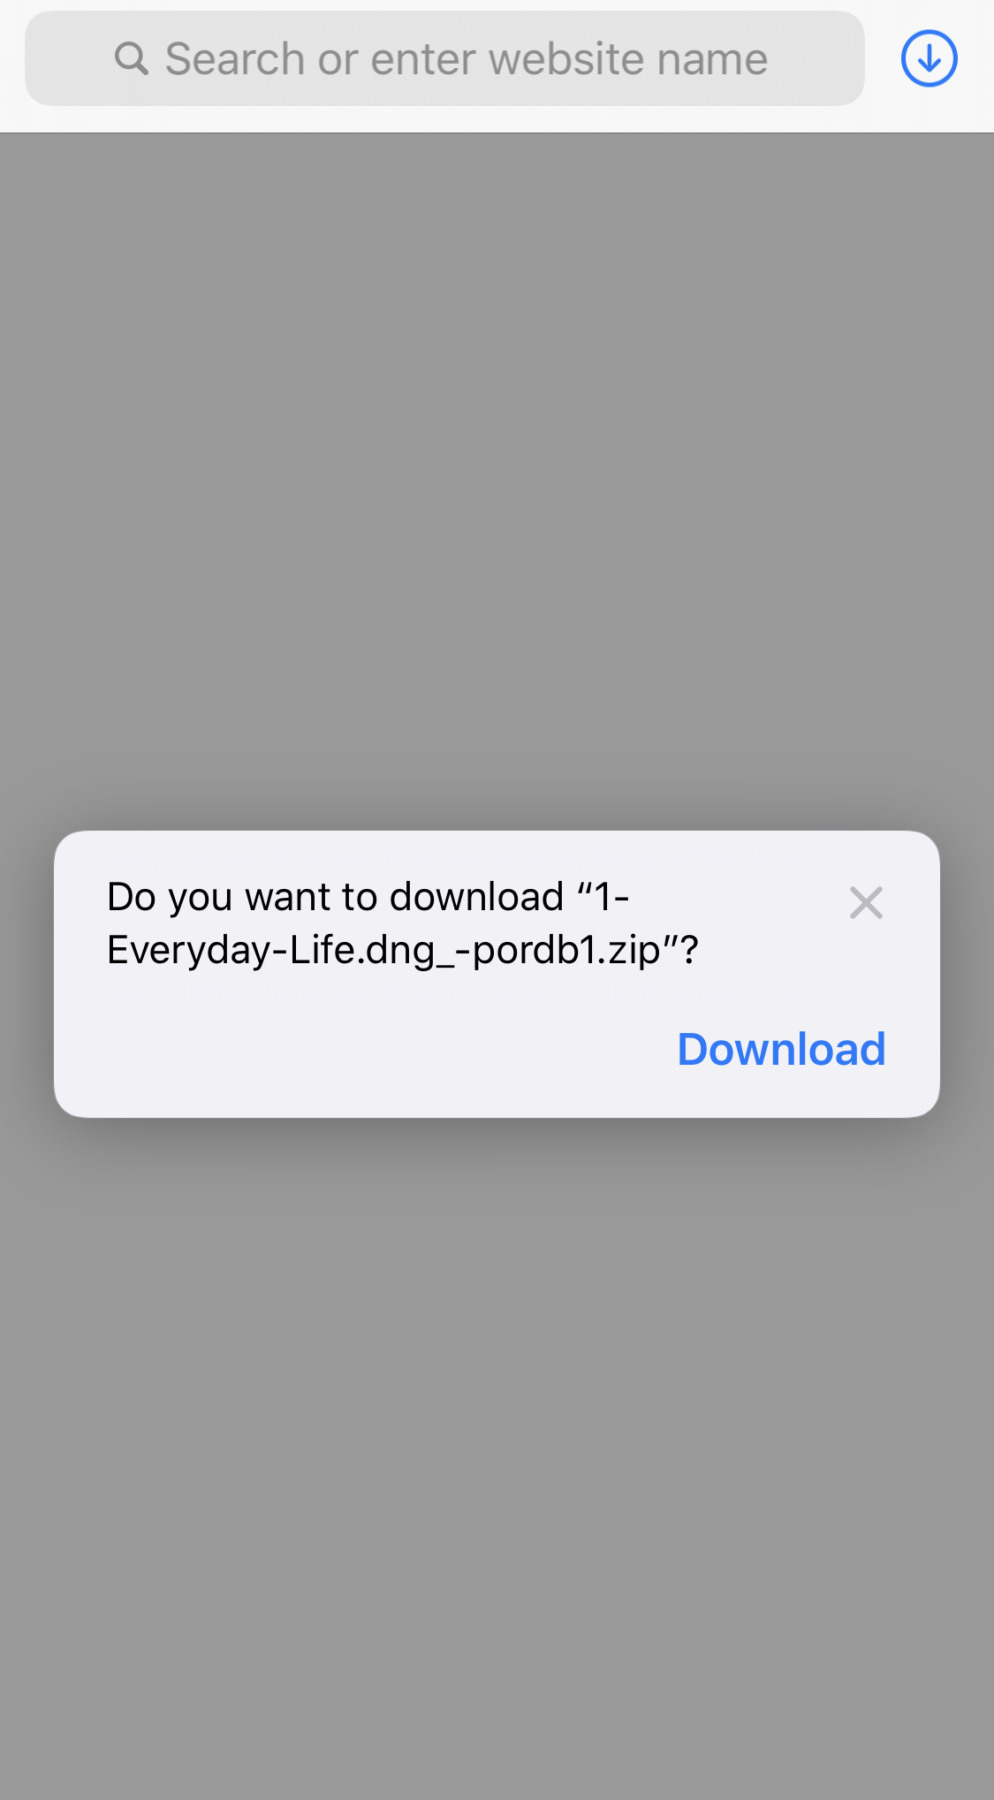
Mobile presets come in a DNG file format. Some sellers allow direct download of the DNG files but some compress the files into a ZIP format.
Note: If your presets are in XMP or lrtemplate format, they are for Lightroom Desktop, not Mobile.
If you see a DNG file when you click on your download link, skip directly to Step 2.
If you see a ZIP file, then you need to unzip the presets first.
1st Step: Download the DNG files to your phone
You can use Files (on iPhone) or apps like iZip to unzip the file on your phone without a desktop computer. First make sure you download the zip file to Files (iOs) or iZip app to your phone (iOs and Android). Then click to download the file directly to “Files” or download the file Opening in iZip.
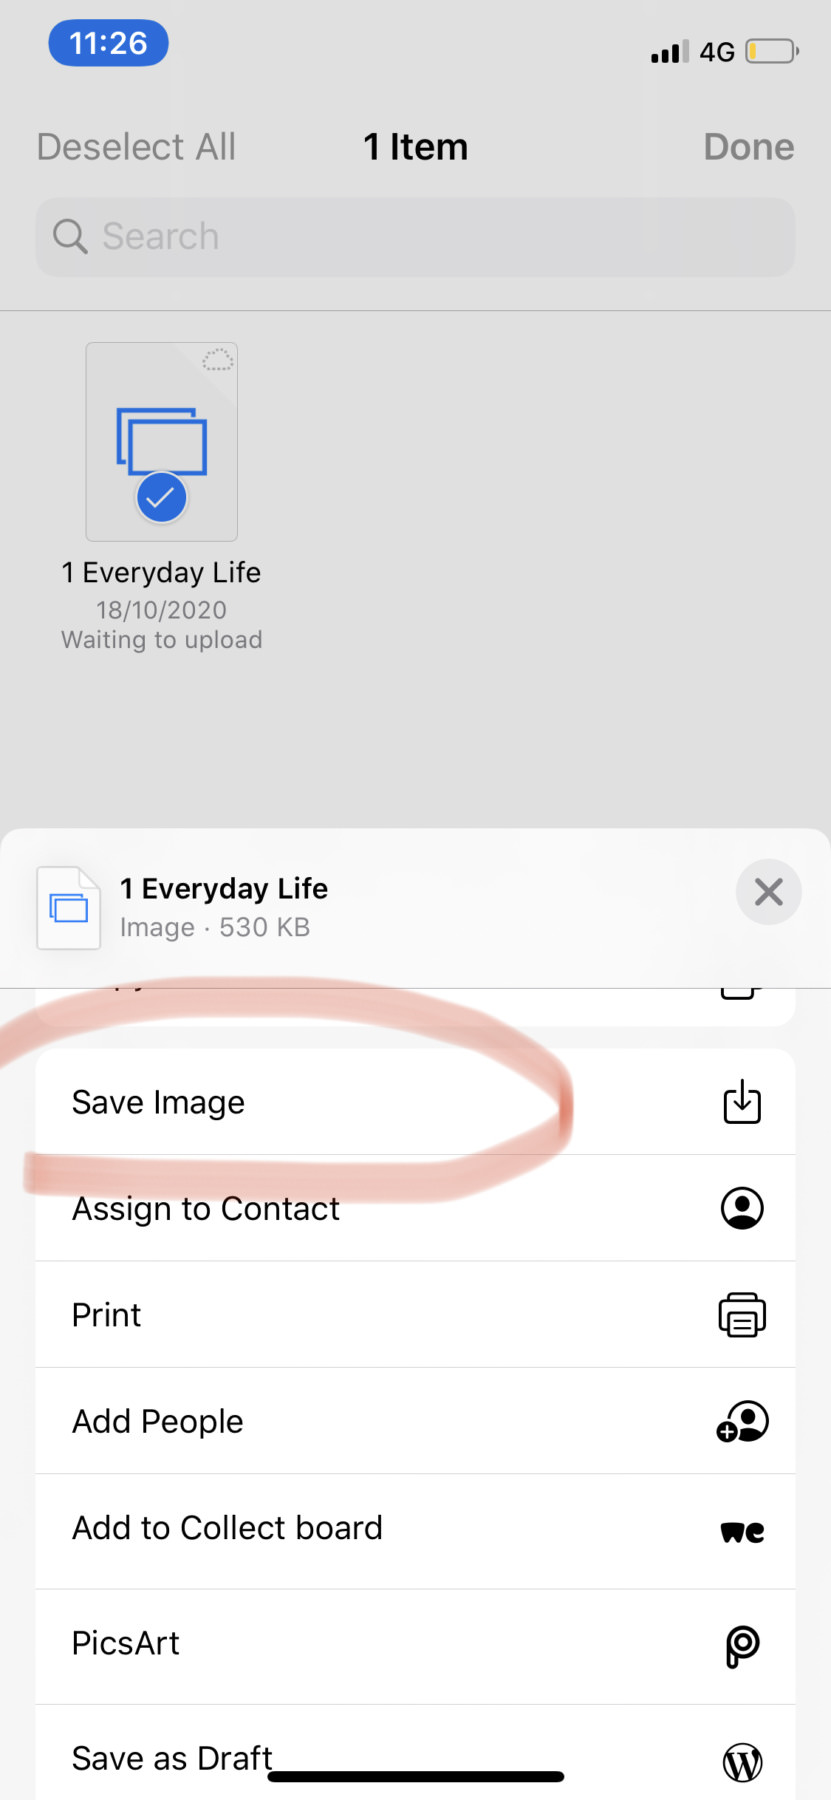
Now that you have downloaded your ZIP files to Files app or iZip app, all you need to do it it unzip clicking on the file and export by Saving each Dog file to the Camera Roll
2nd Step: Import preset files into Lightroom Mobile
At this point you have all of your DNG files saved to your camera roll phone – and now you just need to add them to Lightroom mobile and save presets out of them.
If you go into your photo stream and see them as blank picture files, don’t be worry at all as that’s how they should look.
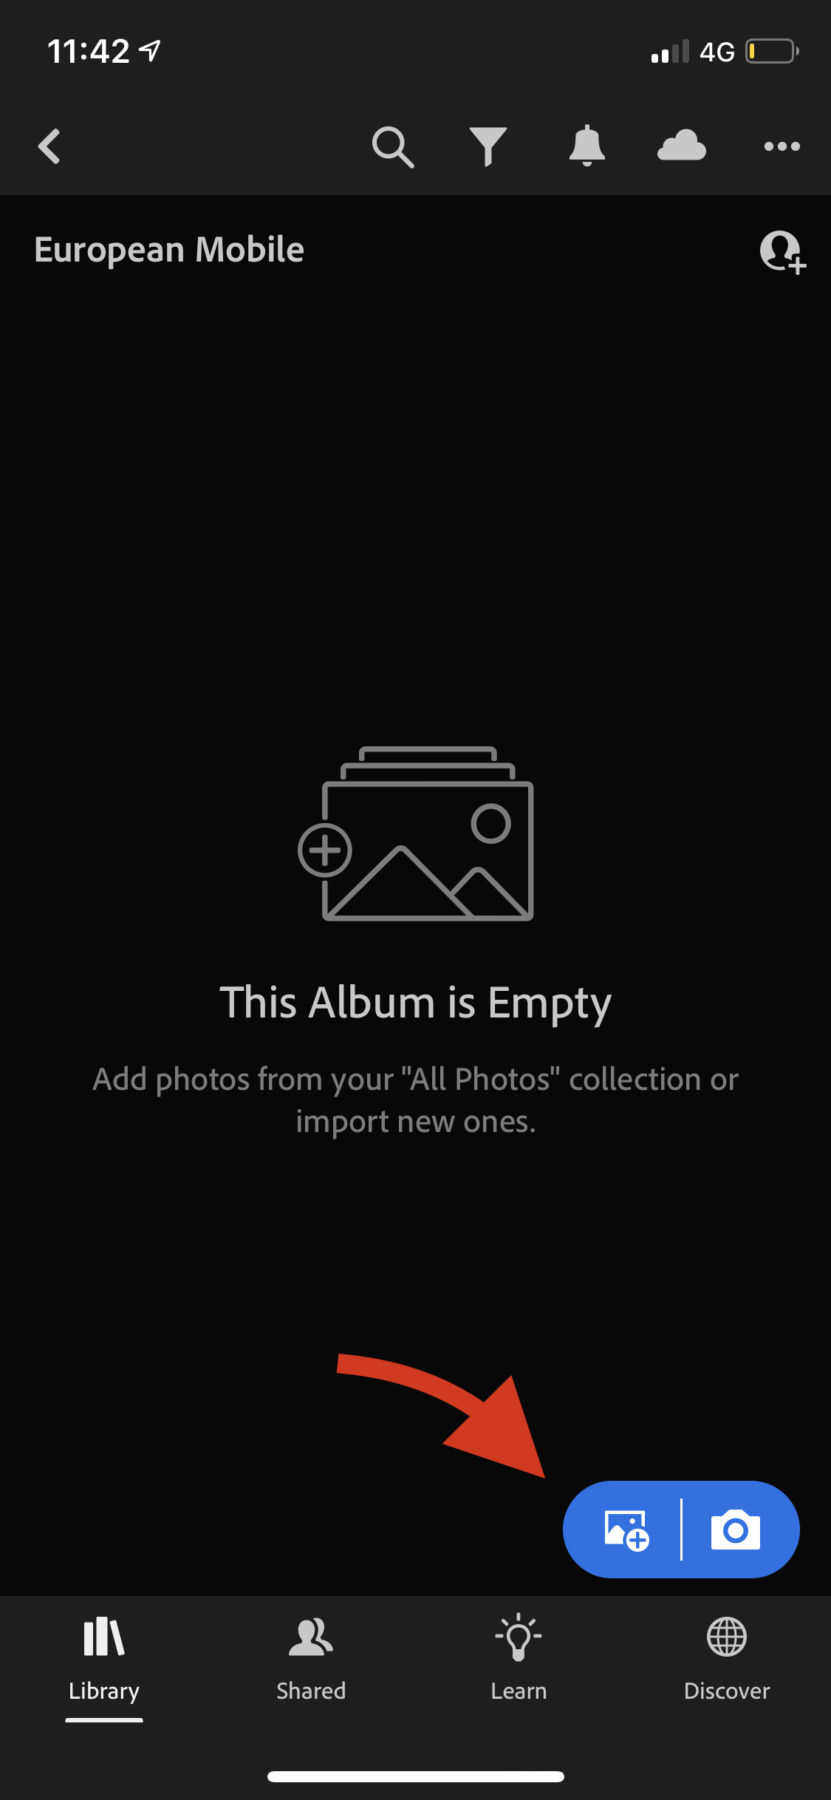
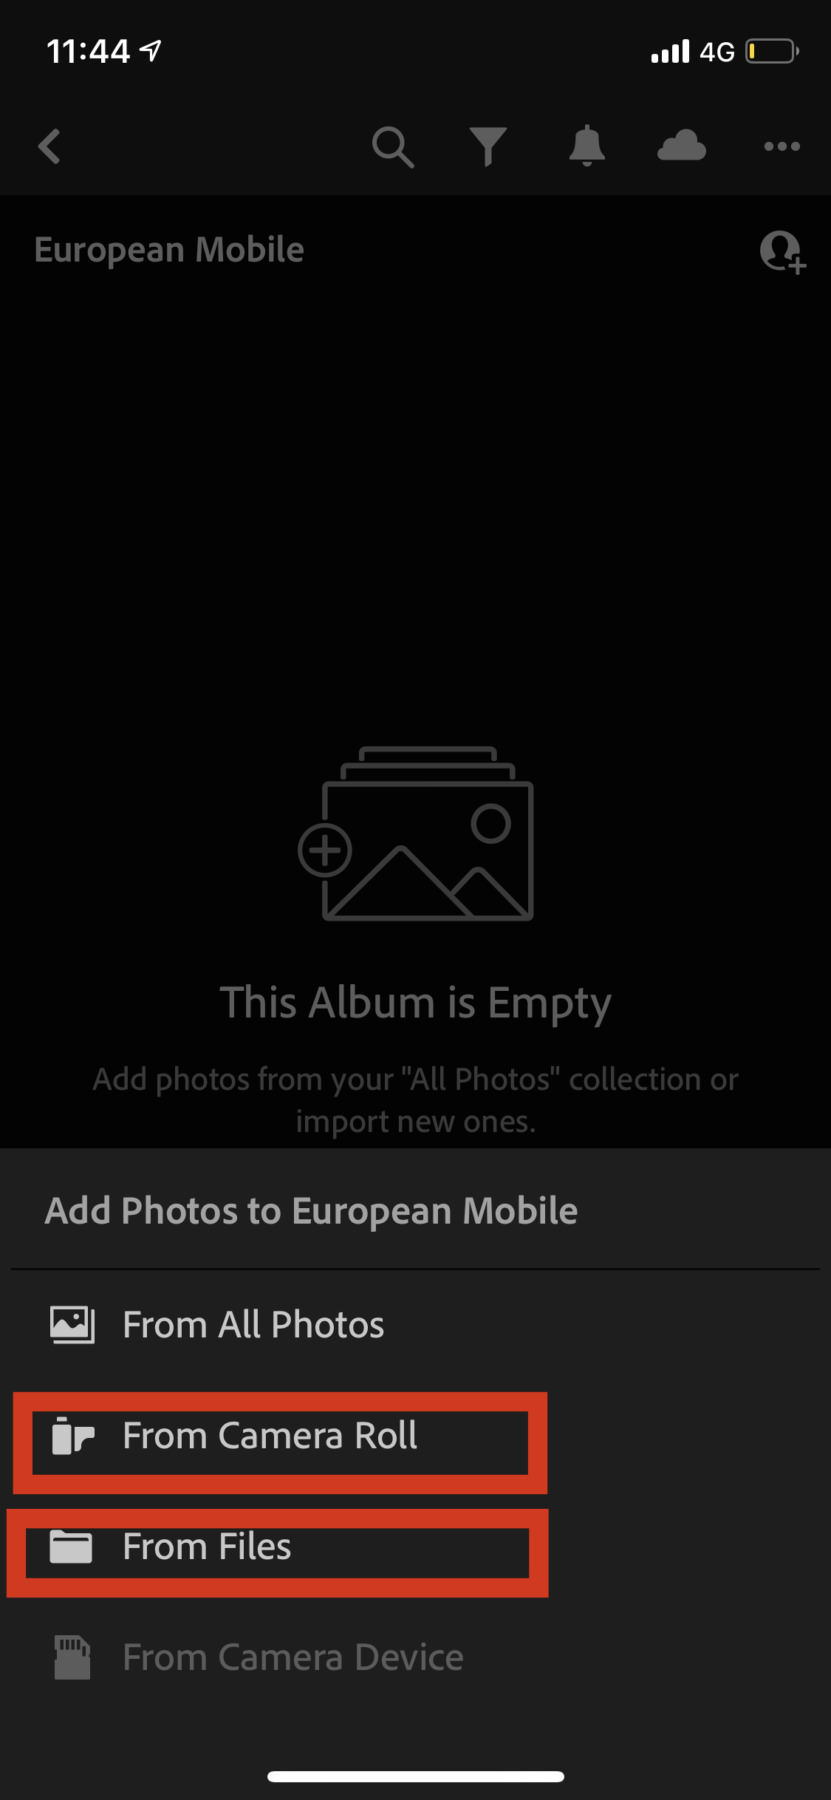
Next, select the DNG presets from your camera roll (or from iZIP) and import them into your Lightroom Mobile app
Step 3: Save Settings as Presets
Now you should have the DNG files imported to your Lightroom mobile app. Locate them and open one of them inside the app.
Now tap on the 3 dots icon at the top right of the screen and then tap on Create Preset:
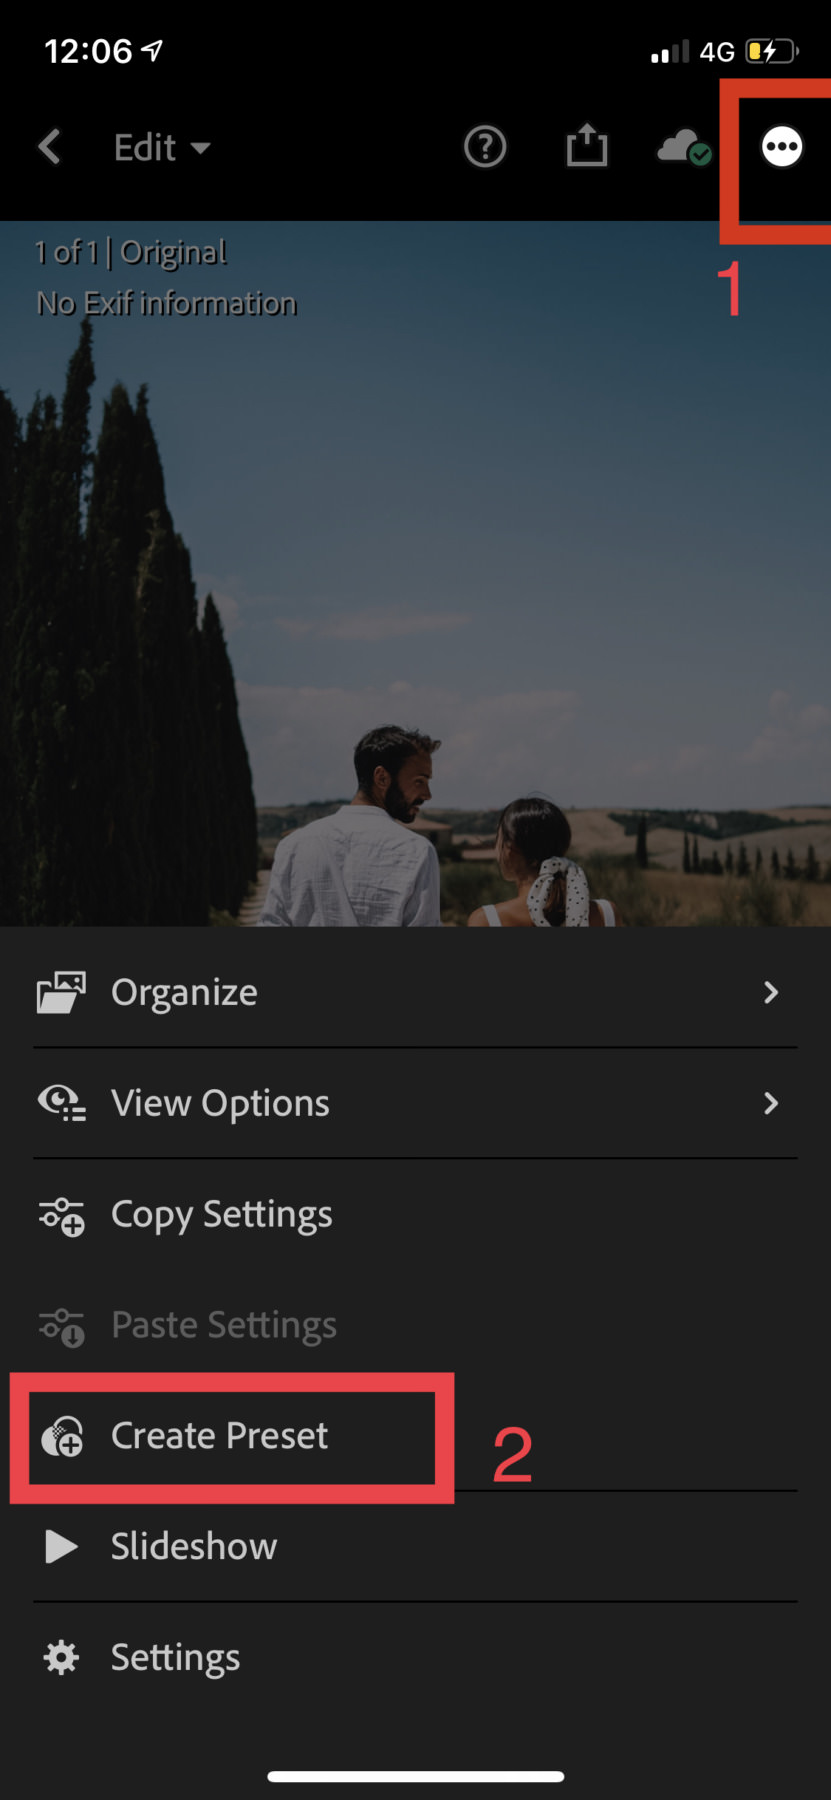
.
Next you will see the New Preset screen which contains all the options you can use to customize your preset. You can give your preset a name and add it into a Preset Group in Lightroom. Try to organize them as much as possible so that you we will know which preset is which.
When you’re done with the settings save your preset by tapping on the checkmark icon at the top right corner.
Repeat this step for each DNG file as you will need to save each preset separately. Don’t worry though, you only need to do this once!
Step 4: Use your Lightroom Mobile Presets
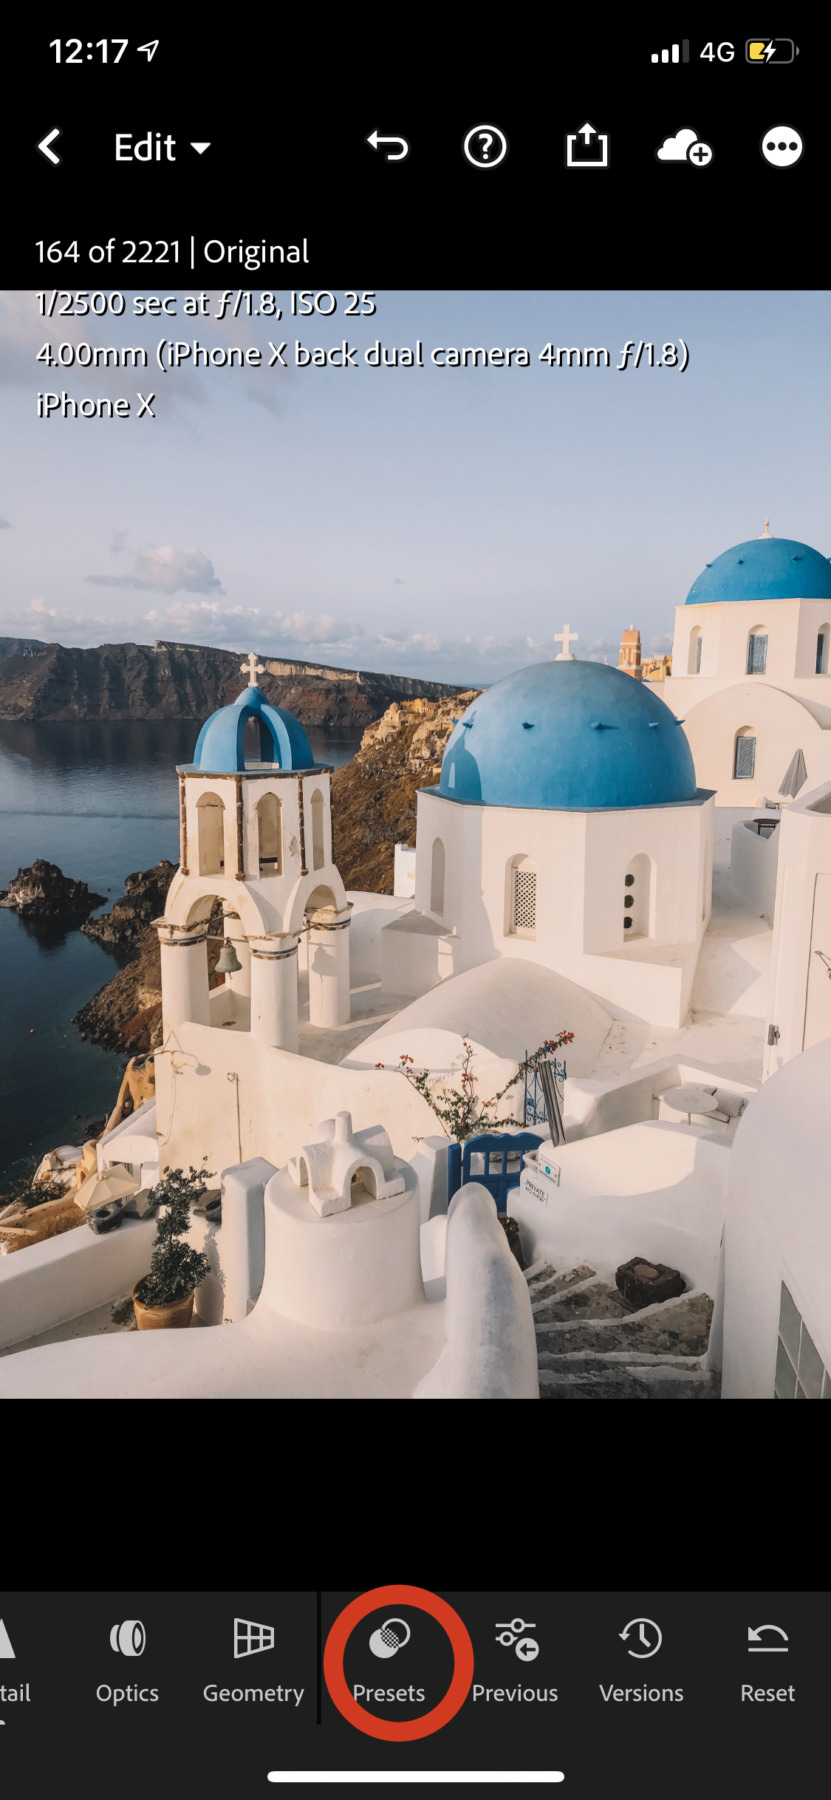
To use the new presets, just go to an unedited photo and open it 8on Lightroom mobile of course). Then slide the options to the right and click to the “Presets” button. Select the presets you want to apply and … done!
And Finished! Now you know how to install, save and use your Lightroom Mobile presets !
For any doubts or questions feel free to write us to outsiders.somewhere@gamil.com!
Cheers Guys!
